How to feed tomatoes after planting in a greenhouse?
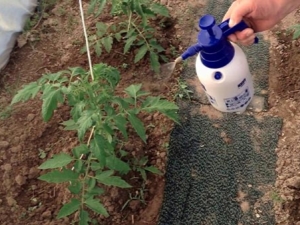
It is no secret that the fruits of plants that we grow for human consumption must be tasty, healthy and well ripened. To do this, they must receive from the soil those necessary substances that will enable them to become such. However, often the soil on which the plant grows does not contain enough nutrients for it. In this case, the enrichment of the soil with the necessary microelements becomes the task of the farmer.
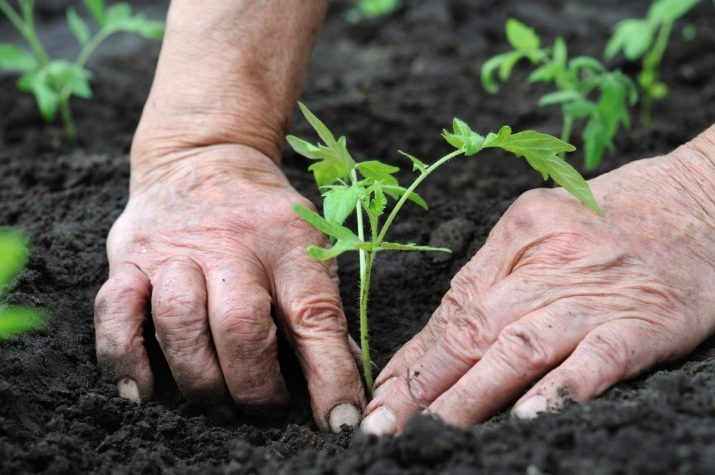
preparing the ground
Those who have been growing plants in greenhouses for more than a year know that proper preparation of the greenhouse for the season and planting seedlings is no less important than caring for it after the young bushes have appeared in their permanent place of growth. For the correct fulfillment of this condition, it is necessary to begin preparations for the spring-summer season of the next year immediately after the harvest of the current year is completed.
The rules of agronomy state that the same crop cannot be planted in the same greenhouse two years in a row. Between plant species, you should take a break and observe crop rotation. If this year you grew tomatoes in a greenhouse, then next year it is better to plant cucumbers or zucchini, but not nightshade ones. Although in recent years this procedure has not particularly saved plants from diseases, since cucumbers and tomatoes began to suffer from the same diseases.
However, one should still adhere to this rule - there are many diseases that are inherent only in this culture, and another, planted in this place next year, they are not terrible.
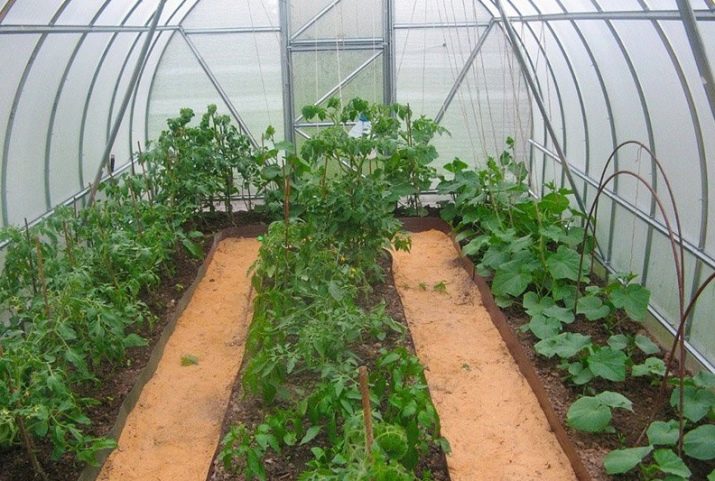
In order to maximize the safety of plants that will grow in the greenhouse next year, in the fall, after you harvest the crop and tops, you need to remove and take out of the greenhouse the entire layer of fertile soil 10-15 cm high. This will make it possible to remove as much as possible from greenhouse all putrefactive bacteria and fungal spores. During the winter, the soil scattered over the site will freeze and many bacteria will die. Spraying the soil with a hot solution of copper sulfate will be an excellent help. To do this, for 1 bucket of water you need 1 spoon of the product.
After removing the soil, the greenhouse must be treated with disinfectants in order to neutralize the harmful bacteria that have accumulated in the crevices and on objects, and to dry it well. In early spring, the soil layer is returned to its place. Previously, a layer of humus or peat must be added under the soil. This will be excellent nutrition for your future plants. Preparation and processing of the greenhouse depends on its type. Greenhouses are:
- Winter. Such greenhouses are called stationary buildings with a foundation, equipped with heating and well-insulated. Plants can be grown in them all year round.
- Summer. Sufficiently strong stationary greenhouse without heating, in which plants are grown in early spring and summer.
- Portable greenhouse. It is usually a small, light mobile structure, which is used mainly for growing seedlings or seedlings at an early stage of growth.
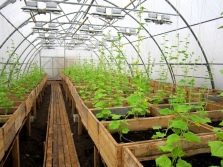
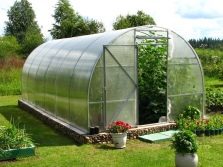
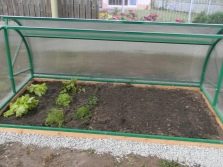
The winter greenhouse should be treated most carefully, since it accumulates the largest number of microbes. It is enough to simply open a summer greenhouse for the winter and dry it well in the spring. A portable greenhouse should be perfectly washed, dried and moved to a new location.
Tips from experienced gardeners
Having made the decision to grow tomatoes in a greenhouse, you need to know that there are a few rules that must be followed in order to get a rich and healthy harvest.
The first thing to consider is the equipment and the condition of the greenhouse itself. Its type should be chosen depending on the ultimate goal. If you are serious about growing tomatoes commercially for profit, then you should consider installing a winter greenhouse fully equipped with all the necessary equipment: heating, automatic watering, ventilation and excellent lighting. In winter, fresh vegetables are quite expensive in price, and the costs that you incur to equip such a greenhouse will quickly pay off.
A stationary greenhouse without heating is more suitable for those who plan to grow fresh vegetables for their family or for sale seasonally. The cost of preparatory activities will not be as significant as when installing a winter greenhouse, but the profit from the sale of tomatoes will be less.
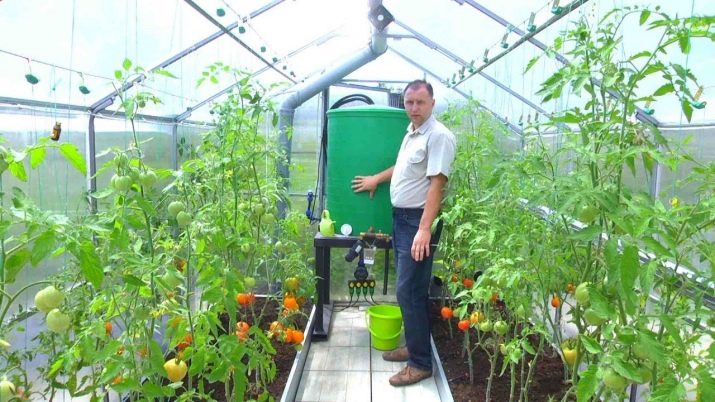
Whatever type of greenhouse you choose, the rules for planting seedlings and caring for them will be almost the same.
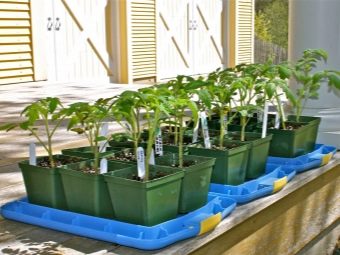
Before planting seedlings in the greenhouse, which had previously been in the house on the windowsill, it is necessary to harden it. To do this, within two weeks you need to take out boxes with seedlings on the street, gradually increasing the time of stay. Only after that the seedlings will be ready for transplanting to a permanent place.The temperature of the soil in the greenhouse should be warmed up to 18 degrees.
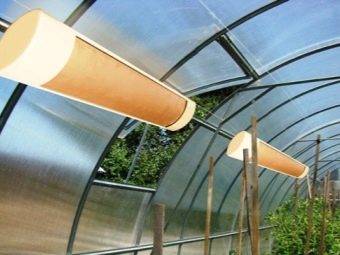
In early spring, and especially in winter, the rays of the sun that penetrate the greenhouse are not particularly bright. Therefore, seedlings after planting need to provide a high level of lighting. For this, fluorescent lamps are perfect. In order for the plants not to stretch upward excessively intensively, it is better to lower the lamps closer to the seedlings.
The air in the greenhouse must be fresh. For this purpose, holes for forced ventilation must be provided in the design. The humidity in the greenhouse where you will plant sprouted tomato sprouts should be at 60%. Wetter air can be detrimental to plants. Also, during the flowering period, high humidity does not allow the pollination process to take place normally - the pollen becomes too wet and cannot get on the pistil of the plant.
Before planting tomatoes directly in the soil of the greenhouse, it should be watered with a root growth stimulator. For this, ready-made preparations such as Kornerost or Energen are suitable. "Kornerost" is bred by pouring 3 tbsp. spoons of the drug in 10 liters of water. Energen is sold in capsules and you will need 2 capsules per ten-liter bucket of liquid.
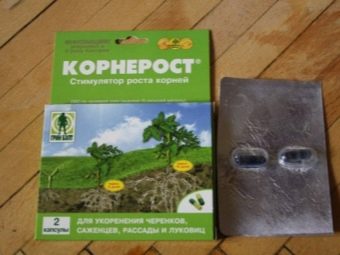

For effective use, solutions are applied directly to each well just before planting. Each well should receive 1 liter of prepared liquid. In addition, such top dressing must be applied to the rest of the garden. This will help the roots of the plant to strengthen better and saturate the soil with some components that are useful for tomatoes.
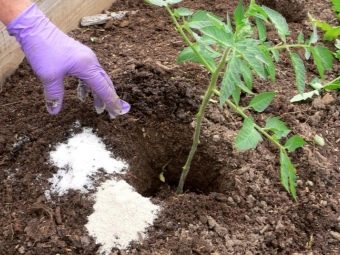
For those who trust folk remedies more, you should use the following proven recipes: a day before planting seedlings in the ground, pour each well with a weak solution of potassium permanganate. Then spread in the holes 100 grams of ash from burnt sunflower or straw and a few grams of crushed eggshells.
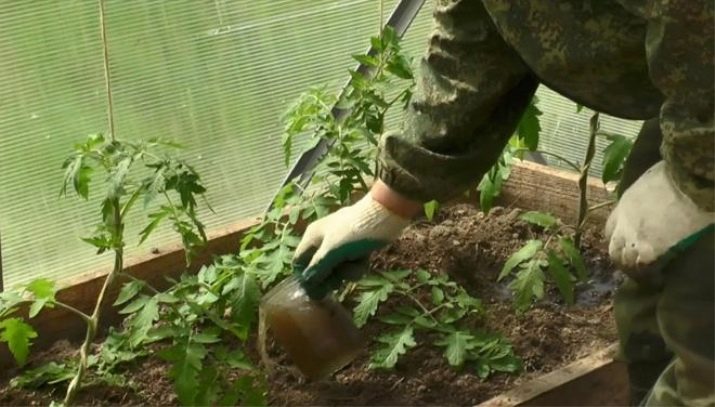
The importance of the first feeding
It is difficult to overestimate the importance of the first feeding of tomatoes that we have just planted in the greenhouse. Almost everyone who grows crops on large or small plots of land knows the difference between plants that grow in favorable conditions and those that do not receive sufficient nutrition and care.
Tomatoes are no exception. After planting in a greenhouse or open ground, it is necessary to systematically fertilize the plants.
Top dressing tomato happens:
- root;
- foliar.
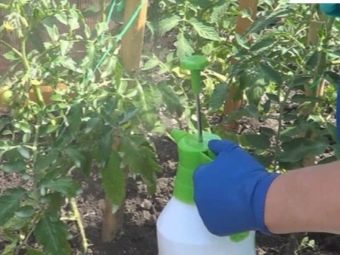
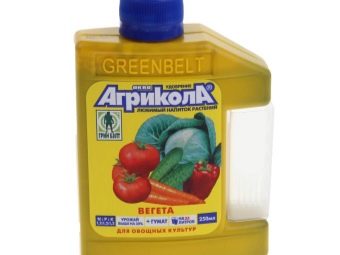
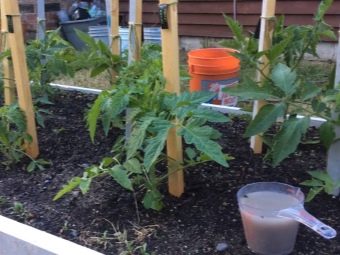
Immediately after planting, it is not necessary to produce a foliar type of top dressing, as the plants are still "sick". During this period, it is worth thinking about the root feeding of tomatoes. You need to feed the tomatoes for the first time after planting in the greenhouse after 20 days. To do this, take 2 tablespoons of organic fertilizers like Agricola Vegeta and dissolve them in 10 liters of water. Next, add 10 tbsp. tablespoons of nitrophoska and pour 1 liter of the product under 1 plant.
The resulting mixture will help you fill the soil in which the tomatoes will grow with all the substances necessary for their growth. Nitrophoska will allow you to lay in the soil a supply of nitrogen, phosphorus and potassium, which are very necessary for all plants without exception. "Agricola Vegeta" will fill the soil with the required percentage of organic matter.Such a bookmark will allow the plants to grow in a favorable environment, and for a while will give you the opportunity to engage in other activities to care for tomatoes.
What fertilizers to use?
In order to grow a good tomato crop in a stationary polycarbonate greenhouse, it is necessary to feed the plants that grow in it with special care. Polycarbonate greenhouses are, as a rule, stationary, non-portable structures in which plants are planted year after year in the same place. This leads to the fact that the soil in the greenhouse is depleted and the plants have nowhere to take nutrients.
So that neither the planted plants nor their fruits suffer from soil depletion and give us full-fledged tomatoes for the table, it is necessary to replenish the set of micro and macro elements in it in time. For this, the following types of fertilizers are used:
- organic;
- mineral;
- complex.
There are norms and proportions of fertilizers that should be fed to tomatoes after you have planted the seedlings in the greenhouse, and throughout the entire growth period. If, for example, urea is used, then the amount of the component will be one. In the event that you want to fertilize the ground with chicken manure, then its use is also individual.
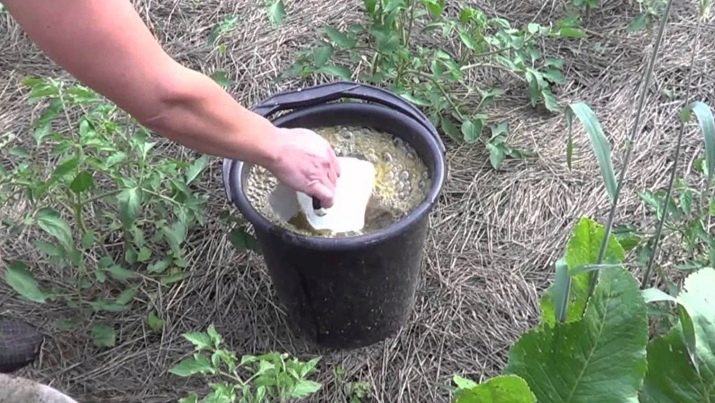
There is no consensus on how often tomatoes should be fed, but experts say that mandatory feeding should be done after planting seedlings, before flowering, when the first ovaries appear, during fruiting.
organic fertilizers
In order to understand what and why we will do, we first need to understand the types of existing fertilizers. Organic components that can be used to fertilize the soil in a greenhouse have a very wide range of applications.Folk methods of preparing and introducing organic matter are considered especially popular.
As a fertilizer for tomatoes in a greenhouse, you can use:
- Bird droppings. It should be filled with water in proportions of 2: 1 and left to ferment for 10-14 days. After that, the resulting slurry is added to the water when watering the roots of plants in proportions of 1 liter of fertilizer per 10 liters of water.
- Mullein. By the same principle as bird droppings, fresh manure is filled with water and wanders. Only when watering it must be taken at the rate of 1 liter per 7-8 liters of water.
- Infusion of weeds. To make such a fertilizer, you need to take several bunches (about 500 grams) of nettles or other weeds, finely chop and pour 1 bucket of water. After that, it is worth letting the remedy brew for 14 days. After a two-week period, the infusion is filtered and diluted again in proportions of 1: 2. The component is ready for use. It should be applied under the root of each plant.
- Wood ash. It is scattered into holes around the plant, trying to place it so that the ash does not touch the stem of the tomato.
- Peat. This substance is best applied to the ground before planting or during the preparation of the greenhouse for the season.
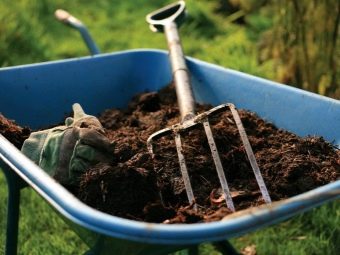
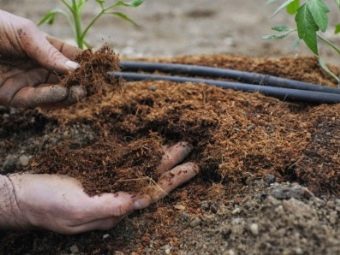
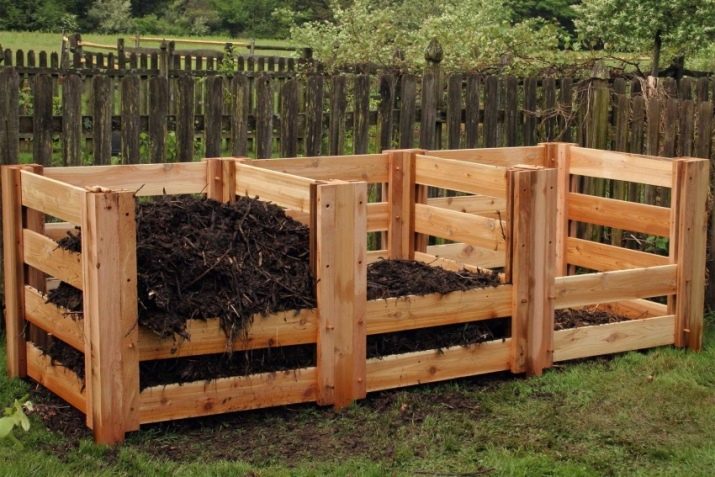
Some gardeners prepare special compost pits or heaps in advance, where all organic waste, grass or other organic matter is gradually introduced during the season. In order for the compost to overripe and turn into compost, it should be filled with water or other organic liquid from time to time. As a result, by the next season, the owner of the site has a free, but very valuable product - humus, which will have a number of substances necessary for the plant. This product can be mixed with soil in the greenhouse or used as an additive when watering plants.
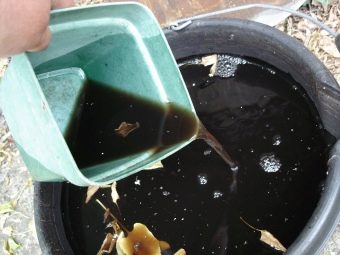
Also at home, you can prepare a very “tasty” cocktail for tomatoes. For it, you need to take a large container (a barrel of 100 liters), add 1 bucket of manure or bird droppings, about 3 liters of ash, 5 g of potassium permanganate and boric acid, about 500 grams of old jam or sugar and a small pack of ordinary baker's yeast. The resulting mass is poured with water to full capacity and allowed to brew for 7 days. After that, the mixture is added when watering the plants under the root at the rate of half a liter per 1 bucket of water.
mineral
It is no secret that being in a place isolated from natural growing conditions, plants are deprived of the opportunity to receive some nutrients from the environment. Therefore, when growing tomatoes in a greenhouse, special attention should be paid to fertilizing. If this is not done, then the plants will develop incorrectly. The first signs that a young tomato lacks certain substances will be the lack of growth, twisting and yellowing of the foliage, the appearance of spots or dry patches on the leaves, the absence of flowering and ovary.
To correctly determine the cause of the symptoms that have appeared, you need to do an analysis of the nutrient content in the soil. But not everyone is ready to take the soil to the laboratory, so the diagnosis is usually done independently. However, if you're trying to grow great tomatoes in a greenhouse, fertilizer is a must.
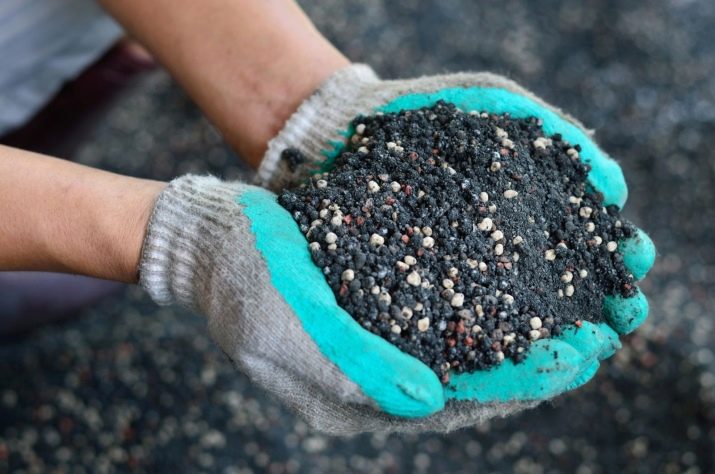
If you are not ready to mess with manure and bird droppings, then you should use mineral fertilizers, which are already sold ready-made.
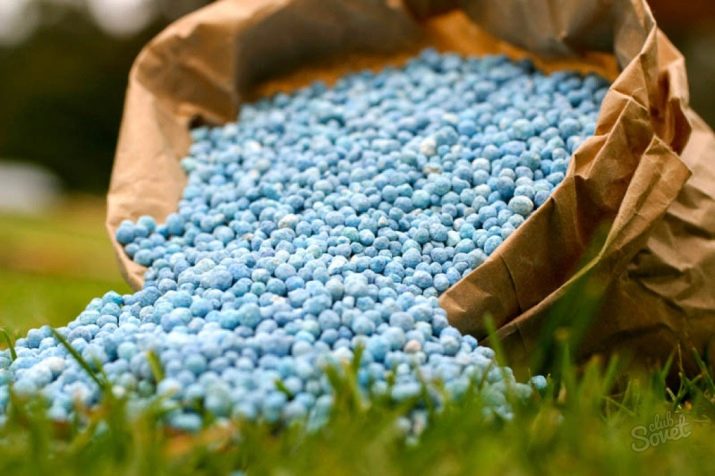
To grow tomatoes in a greenhouse, the following mineral components are needed:
- nitrogen;
- phosphorus;
- potassium;
- zinc;
- magnesium;
- calcium;
- sulfur;
- iron;
- boron
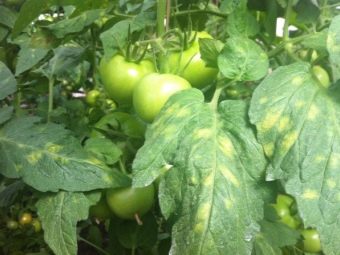
With a lack of even one of some element, the plant will begin to show painful signs. If the plants do not have enough nitrogen, then the lower foliage will turn pale green, and at the top it will die altogether. The stalk of the tomato will become fragile and thin. With a lack of phosphorus, the foliage will become dark green, bluish, with a red purple hue. Potassium deficiency is manifested by yellowing and dying of tissues, as well as twisting down the edges of the leaves.
Magnesium deficiency can be identified by the light leaves of the plant. They will become reddish, purple or yellow in color. With a lack of calcium, you will observe the death of the edges of the leaves, as well as the roots and apical bud. When a plant lacks iron, you will see systematic chlorosis between the veins, pale green or yellow foliage. There is no tissue death. It is more typical in the situation when tomatoes lack boron. Then the plant withers, the roots, apical buds and ovary die off.

Scheme and schedule of care
As with everything else, when fertilizing in a greenhouse, there are rules that will help you get the expected result from growing plants. You should know that it is impossible to bring manure and lime into the greenhouse at the same time. Such a tandem neutralizes the effect of the introduction of the same drugs.
The best way to apply fertilizer when growing tomatoes in a greenhouse is to saturate the soil before planting. To do this, before planting seedlings, it is worth adding 1.5-2 handfuls of humus and 1 teaspoon of nitroammophoska to each well. However, you should not add wood ash to the holes. According to the rules, nitrogen fertilizers and ash are applied at different times.
The scheme for fertilizing the greenhouse is as follows:
- nitrogen-containing preparations in greenhouses are used only after the plant has taken well and started to grow;
- after the ovary appears on the tomatoes, nitrogen fertilizers should be applied in moderation;
- in order for the plant's root system to develop normally, it is necessary to add phosphorus preparations;
- potassium is applied during the growing season;
- owners of sites where sandy or sandy soil predominates should add magnesium sulfate to it.
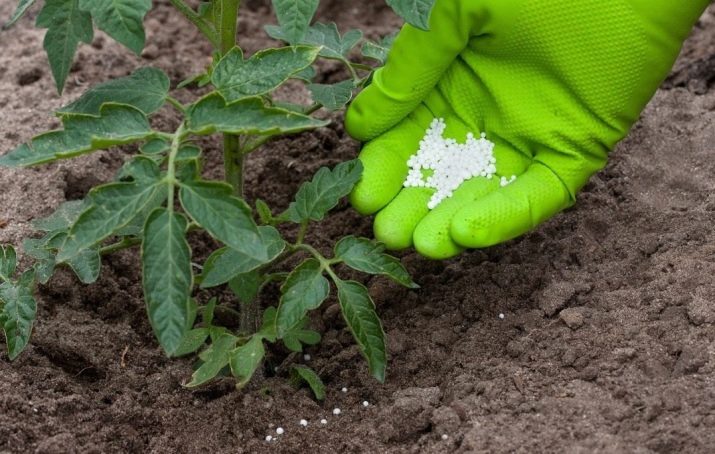
The fertilizer application schedule for tomatoes after planting in a greenhouse by development phases is as follows:
- the first time a newly planted plant in a greenhouse is fed 29 days after planting;
- counting 10 days after the first feeding, a second one should be made, and the same preparations that were made during the first feeding should be applied;
- the third feeding should be carried out 12 days after the second;
- all subsequent top dressing should be done at intervals of 15 days.
The most favorable remedy for tomatoes in the greenhouse will be slurry. It is able to nourish the soil with all the substances necessary for the plant during the growth period. Also, for growing tomatoes in a greenhouse, foliar top dressing is characteristic. It assumes that nutrients will come to the plant from the leaves and stems. It must be done once every 30 days. Superphosphate diluted in water is suitable as a fertilizer.

If you notice that flowers are crumbling in tomatoes due to the heat, then urgently make foliar top dressing with boric acid diluted in water. For preventive purposes, it is desirable to carry out foliar feeding of plants throughout the entire growth period.
For foliar application of minerals, the plant should adhere to the following doses:
- To saturate the plant with magnesium, spraying with magnesium nitrate should be done. In this case, the concentration of the substance should be within 5 g per 10 liters of water.
- Zinc is introduced by spraying the plant with a solution of zinc sulfate within 5 grams of the substance per 10 liters of water.
- If you dissolve 5 g of calcium nitrate in 10 liters of water and spray the plant, then saturate it with calcium.
- Boron is applied during flowering by dissolving 5 g of the substance in a bucket of water.
- For spraying with manganese, manganese sulfate is used, 5 g of which is dissolved in 10 liters of water.
- Two grams of copper sulfate dissolved in a bucket of water will saturate the plant with copper.
- Plants will receive iron if 5 g of iron sulfate is dissolved in a bucket of water.
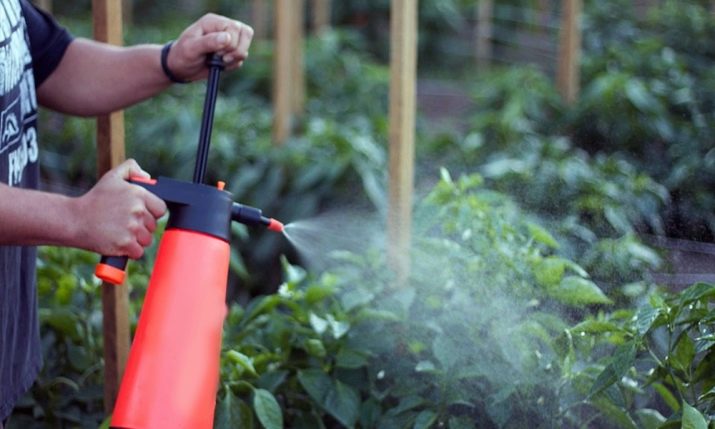
An excellent solution would be to purchase a ready-made composition intended for foliar feeding of tomatoes in greenhouses after planting, dilute it with water according to the instructions and spray the plants.
Feeding tomatoes after planting in a greenhouse is a very important and significant moment. It must be done necessarily 20 days after the plant has been determined for a permanent place and done regularly according to the schedule. If you notice that your tomatoes show signs of a deficiency of one or another component, then you must immediately sound the alarm and start feeding the plants with a solution of this drug.
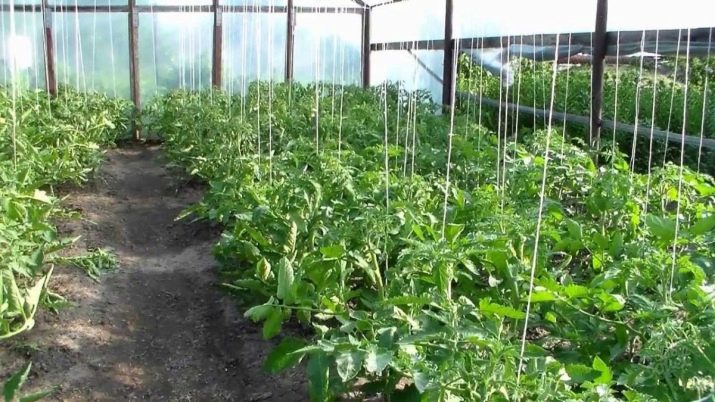
For the first feeding of tomatoes after planting, see the following video.


